Lighting is one of the most important aspects of video production. It can make or break the overall quality of your videos, but you don’t have to break the bank to get great lighting. In fact, with a few simple lighting hacks, you can create stunning YouTube videos without spending much money. Whether you're shooting a vlog, tutorial, or product review, the right lighting can make your content stand out and look more professional.
In this guide, we’ll show you how to improve your lighting setup using budget-friendly techniques and equipment, giving you the tools to create YouTube videos with top-notch lighting on a budget.
Why Lighting Matters for YouTube Videos
Good lighting enhances the visual appeal of your content, helping you to look clear, crisp, and professional. It can also help set the mood of your video, highlight important details, and create depth in the frame. Poor lighting, on the other hand, can make your videos look amateurish and can even make it difficult for your viewers to see you clearly.
The best part is, lighting doesn’t have to cost a lot. With a little creativity and a few affordable tools, you can achieve great results.
1. Use Natural Light
One of the easiest and most cost-effective ways to light your YouTube videos is to use natural light. Natural light can make your skin look more vibrant, and it adds a soft, even tone to your videos that’s hard to replicate with artificial lighting. Here’s how to make the most out of it:
How to Use Natural Light:
- Shoot Near a Window: Position yourself in front of a window that lets in natural light. The larger the window, the more diffused the light will be, which results in softer shadows and a more flattering look. Morning or late afternoon light tends to be the softest, so aim to shoot during these times.
- Use Sheer Curtains for Diffusion: If the sunlight is too harsh, use a sheer curtain to diffuse the light. This helps create a softer, more even light across your face, reducing harsh shadows.
- Avoid Direct Sunlight: Direct sunlight can cause unwanted shadows and overexposed spots. Try to avoid shooting when the sun is directly shining through the window. Instead, wait for cloud cover or shoot during the golden hour (early morning or late afternoon) for the best lighting.
Pro Tip: If you only have one window to work with, position yourself at a 45-degree angle to the light. This will ensure that you have a good mix of light and shadow, creating a flattering effect.
2. Create Your Own Diffuser
If you don’t have access to expensive diffusion equipment like softboxes, you can create your own diffusers with common household items. Diffusers are essential for softening harsh lighting and reducing shadows.
How to Make Your Own Diffuser:
- Use a White Sheet or Shower Curtain: A plain white sheet or shower curtain works wonders as a diffuser. Simply hang it in front of your light source (such as a lamp or natural sunlight) to soften the light.
- DIY Diffuser Using Paper: Another easy option is using a piece of white paper or a large sheet of parchment paper. Cut it to the size of your light source and place it between the light and your subject to diffuse the light. This will soften the light and create a much more flattering effect.
Pro Tip: The larger the diffuser, the softer the light will be. Try to use a bigger surface area to diffuse the light as much as possible.
3. The 3-Point Lighting Setup
The 3-point lighting setup is a standard lighting technique used by filmmakers and YouTubers alike. It involves using three light sources to illuminate your subject from different angles, ensuring even lighting and reducing harsh shadows.
How to Set Up 3-Point Lighting:
- Key Light: The key light is your primary light source. It should be placed 45 degrees to the left or right of your subject, at a slightly elevated angle. This will illuminate the front of the subject while creating natural shadows on the opposite side of the face.
- Fill Light: The fill light helps to soften the shadows created by the key light. Place the fill light on the opposite side of the key light, usually at a lower intensity. The fill light should be softer and not overpower the key light.
- Back Light: The back light (also called a hair light) is placed behind your subject to separate them from the background. It creates a rim of light around the subject, adding depth and dimension to the shot.
You can achieve a basic 3-point lighting setup without spending much money. Use inexpensive desk lamps or LED lights and diffuse them with materials like white sheets or paper.
Pro Tip: If you don’t have a backlight, you can use a desk lamp placed behind you to create a subtle rim of light that separates you from the background.
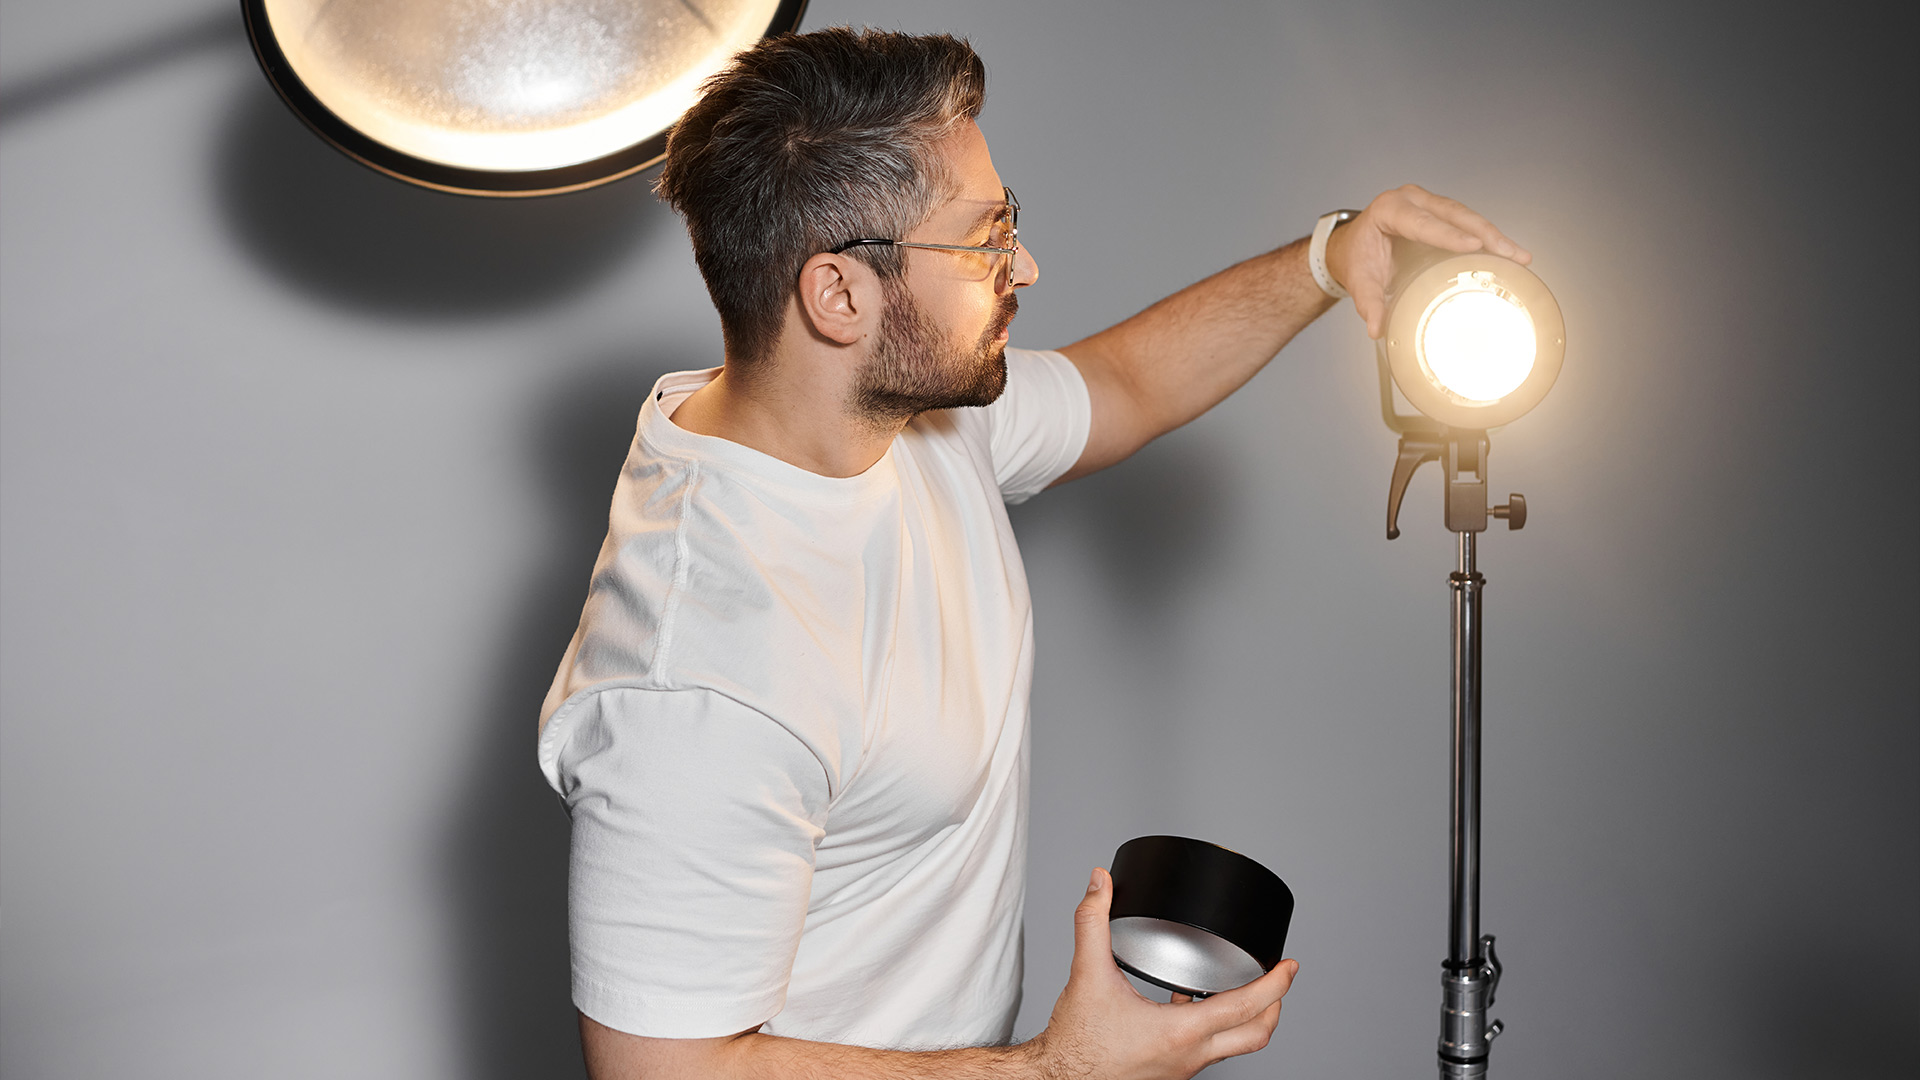
4. Use Affordable LED Lights
LED lights have become increasingly popular for YouTube creators because they are cost-effective, portable, and versatile. They’re available in a wide range of prices, and you can often find budget-friendly options that provide great results. LED lights are perfect for adding brightness to your videos, controlling the color temperature, and creating dynamic lighting effects.
Budget-Friendly LED Lights:
- Neewer 660 LED Video Light: This affordable LED light offers adjustable brightness and color temperature, making it a great option for YouTubers on a budget. It comes with a diffuser to soften the light and create a more flattering effect.
- UBeesize LED Ring Light: If you're looking for an affordable ring light, the UBeesize LED ring light is a popular choice. It provides even lighting and helps create a soft, flattering glow, especially for beauty and makeup videos.
Pro Tip: When using LED lights, experiment with the intensity and placement of the light. Use soft diffusion to soften shadows and make the lighting look more natural.
5. Reflectors for Extra Light
If you find that one side of your face is darker than the other due to shadows, using a reflector can help bounce light onto that side and create a more balanced look. Reflectors are inexpensive and incredibly effective at enhancing lighting in your videos.
How to Use a Reflector:
- White Reflector: A white reflector bounces light back onto your subject without changing the color temperature. You can use a simple white poster board or buy a dedicated reflector.
- Silver Reflector: A silver reflector gives off a cooler tone and reflects more light, which is ideal for brighter, more dramatic shots.
- Gold Reflector: A gold reflector provides a warm tone to your lighting, creating a sunny, golden look that works great for beauty or lifestyle videos.
Reflectors can be purchased cheaply online, or you can even create your own with materials like aluminum foil and cardboard.
6. Take Advantage of DIY Lighting Tools
If you're on a tight budget, you can make your own lighting tools with everyday items.
- DIY Softbox: Use a cardboard box and white fabric to make a softbox. Cut a hole in the front of the box, cover it with the fabric, and place your light inside to diffuse the light evenly across your subject.
- Desk Lamp Modifications: If you have a basic desk lamp, you can modify it to create better lighting. Add a white paper lampshade to soften the light, or wrap the light with a piece of white cloth to diffuse the light and reduce harshness.
Pro Tip: DIY lighting modifications can work just as well as store-bought items, so don’t be afraid to get creative with materials you have on hand.
Lighting is one of the most powerful tools at your disposal when creating YouTube videos. With a little ingenuity and resourcefulness, you can create professional-looking lighting setups without spending a fortune. Whether you're using natural light, affordable LED lights, or DIY lighting tools, these hacks will help you achieve better lighting and enhance the overall quality of your videos. Remember, you don’t need an expensive lighting setup to make your YouTube videos look amazing—just a little creativity and the right technique.