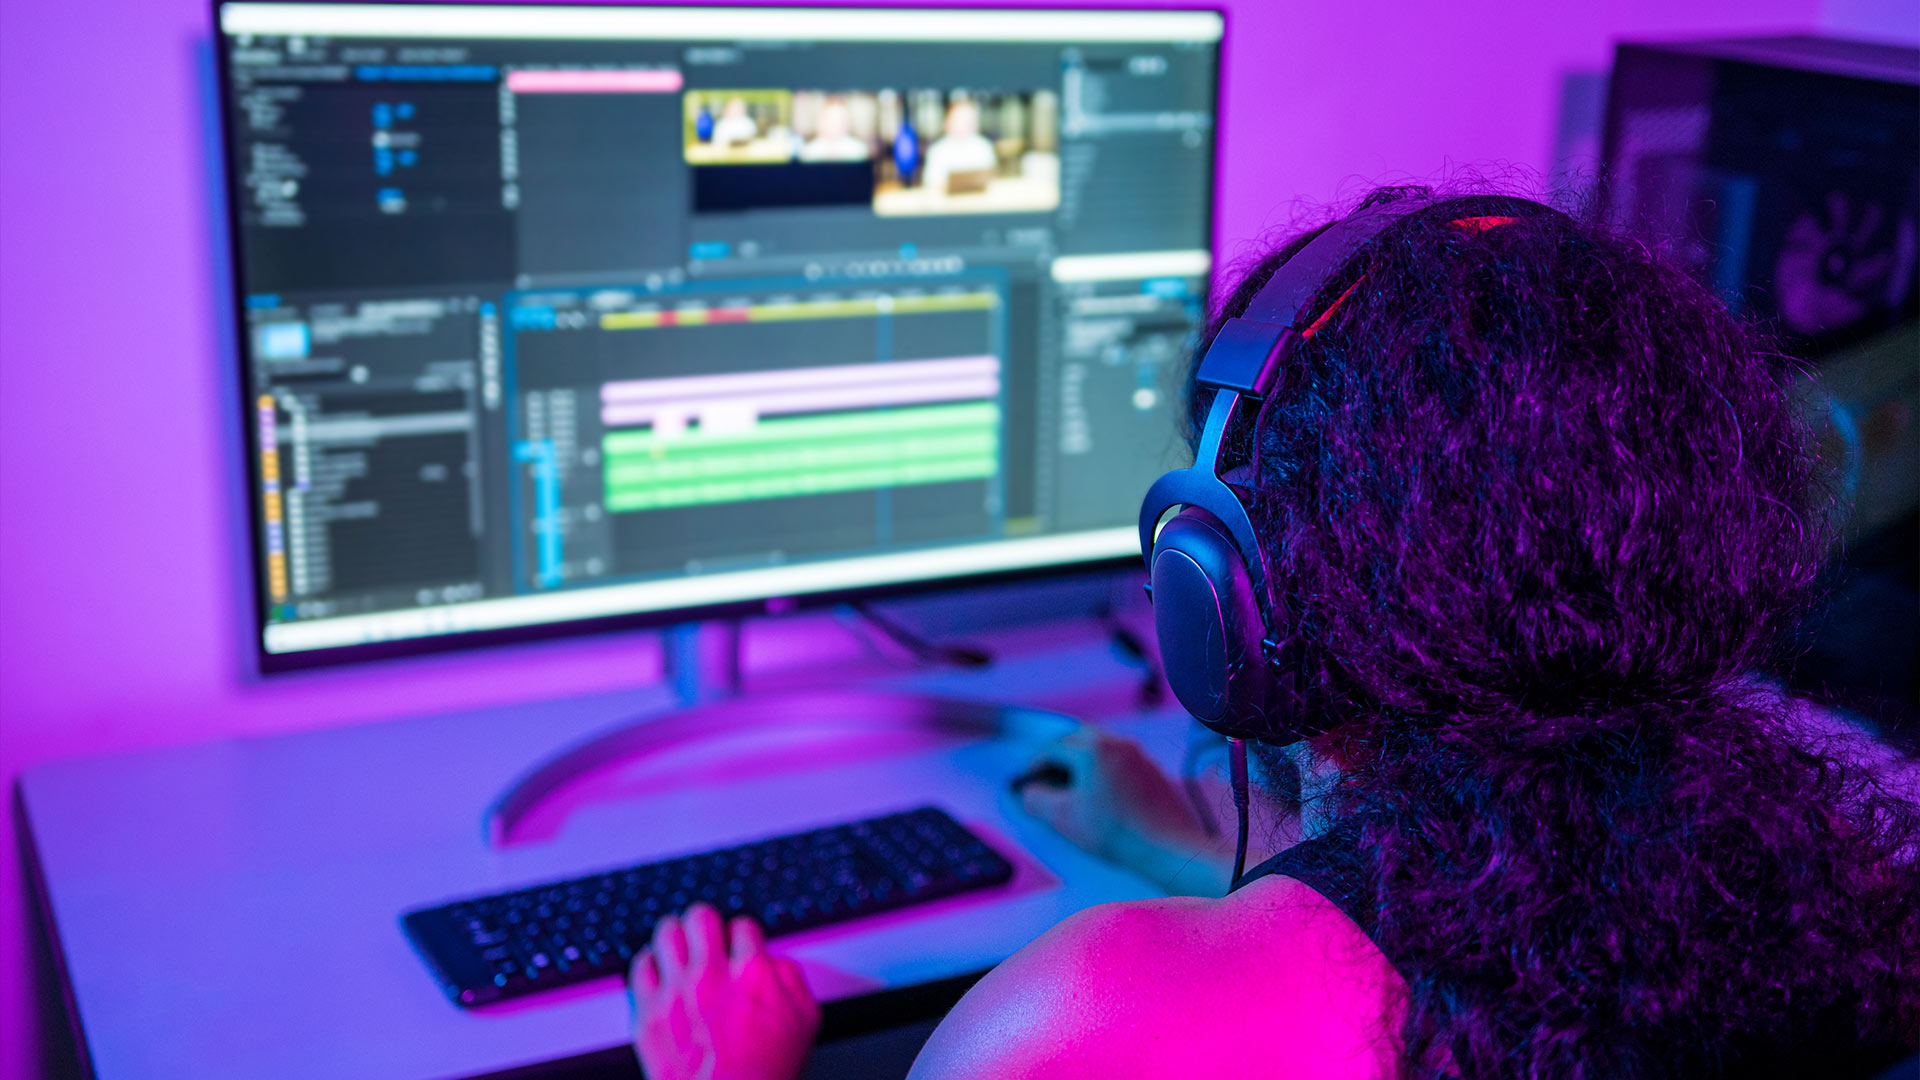
Creating great content for YouTube is one thing, but making sure your videos look polished and professional is another. Whether you're a beginner or an experienced YouTuber, video editing is a key component of producing engaging and high-quality content. Good editing can turn an average video into something extraordinary, helping you captivate your audience and improve your channel’s performance.
In this guide, we'll go over some simple yet effective video editing tips that will make your YouTube videos shine. These tips are easy to implement, even if you're just starting out, and they will elevate the overall quality of your content.
1. Start with a Strong Intro
Your video intro is the first impression your viewers will have, so it’s essential to make it count. A strong intro sets the tone for the video and grabs the audience’s attention right away.
How to Create a Great Intro:
- Keep it short: An intro that’s too long can turn viewers off. Aim for a 5-10 second intro that quickly introduces your channel or video topic.
- Brand it: Use your logo, colors, and fonts to create a consistent branding experience across all your videos. This helps make your channel more recognizable.
- Add music: A catchy tune or theme song will make your intro more memorable. Just make sure to use royalty-free music to avoid copyright issues.
Pro Tip: Use video editing software like Adobe Premiere Pro, Final Cut Pro, or even iMovie to create a clean and professional intro with smooth transitions and branded text.
2. Cut Out Unnecessary Footage
One of the simplest ways to improve the flow of your video is by cutting out unnecessary footage. Whether it’s long pauses, mistakes, or irrelevant tangents, trimming your footage ensures that your video stays engaging and focused on the main content.
How to Cut and Trim Footage:
- Use jump cuts: Jump cuts are quick, clean edits that remove unnecessary footage. This keeps the pacing of your video fast and engaging. For instance, cut out long pauses or unnecessary dialogue that doesn’t add to the message of your video.
- Use transitions sparingly: While transitions can add a dynamic touch to your video, overusing them can make your video feel disjointed. Stick to simple cuts and fades between scenes for a smoother experience.
Real-World Example: David Dobrik, a YouTuber known for his high-energy vlogs, uses quick jump cuts throughout his videos to maintain a fast-paced rhythm. His editing style keeps the content moving while making sure the audience stays engaged.
3. Add Engaging Text and Graphics
Text and graphics can enhance your video, help highlight important points, and make your content more visually appealing. Whether you’re adding subtitles, captions, or callouts, these elements can guide your audience through your message.
Tips for Adding Text and Graphics:
- Use subtitles: Adding subtitles makes your videos more accessible and increases engagement. Many viewers watch videos without sound, so having subtitles ensures they don’t miss important information.
- Create callouts: Use text callouts to emphasize key points in your video, like a product name, special offer, or an important fact.
- Lower thirds: These are graphical overlays that appear at the bottom of the screen. Use them to introduce yourself or provide additional information, like your social media handle.
Pro Tip: Make sure the text is easy to read by using contrasting colors and large fonts. Avoid cluttering the screen with too much text at once.
4. Utilize B-Roll Footage
B-roll is supplementary footage that helps support the main narrative of your video. It’s a great way to add visual interest, cover cuts, and create smooth transitions between different sections of your video.
How to Use B-Roll:
- Cover awkward cuts: If you cut out a section of your video, use B-roll footage to cover the transition. For example, you can show related footage or product shots while you’re explaining something off-camera.
- Enhance storytelling: Use B-roll to add visual context to your narration. For instance, if you’re talking about a product review, show close-ups or angles of the product to keep your audience visually engaged.
- Create dynamic visuals: B-roll can also add movement to your video, which is especially important for videos where you’re speaking to the camera. It can break up static shots and create a more dynamic viewing experience.
Real-World Example: Peter McKinnon, a YouTuber and photographer, is known for his cinematic vlogs. He uses B-roll extensively to add visual interest to his storytelling. His B-roll sequences are well shot and often include time-lapses, slow motion, or scenic shots that make his content visually captivating.
5. Color Correction and Grading
Color grading can take your video from basic to cinematic. While color correction is about adjusting the footage to look natural (correcting exposure, white balance, etc.), color grading is more creative and can set the mood of your video.
How to Do Basic Color Correction:
- Adjust the exposure: Make sure your video isn’t too dark or too bright. You can use the brightness/contrast tools in your video editor to fix the exposure levels.
- Fix the white balance: If your video looks too warm (yellowish) or too cool (blue), adjust the white balance to make the colors appear more natural.
How to Add Color Grading:
- Use LUTs (Look-Up Tables): LUTs are preset color grading filters that you can apply to your footage to give it a specific look. Many video editing software tools offer free or paid LUTs.
- Adjust color tones: You can adjust the shadows, midtones, and highlights to create a specific mood for your video. Warmer tones give a cozy, inviting feel, while cooler tones give a more professional, crisp vibe.
Pro Tip: You don’t need to spend hours on color grading, especially when you're starting. Simple adjustments to contrast and saturation can make a huge difference in your video’s look.
6. Use Smooth Transitions Between Scenes
A well-timed transition between scenes can help your video flow better and make it more visually interesting. However, you should use transitions sparingly to avoid overwhelming your viewers.
Types of Transitions:
- Cross Dissolve: A cross dissolve transition smoothly fades from one scene to another. It’s perfect for fading in and out between video segments or transitions between different types of content.
- Wipes: Wipes create a dynamic transition where one scene slides off the screen and the next one slides in. This transition works well for educational or tutorial videos where you want to keep the pacing interesting.
Pro Tip: Stick to simple transitions like fades or cuts. Overusing complicated transitions can distract your viewers and make the video feel cluttered.
7. Add Music and Sound Effects
The right music and sound effects can dramatically improve the atmosphere of your video. Music sets the tone, while sound effects can enhance the action in your video.
Tips for Using Music and Sound Effects:
- Choose music that matches the mood: The music you select should match the tone of your video. For example, if you’re creating a fun, energetic vlog, upbeat and fast-paced music will fit best.
- Don’t overpower your voice: Keep the music volume low enough so that it doesn’t drown out your voice. You want your audience to hear your message clearly.
- Use sound effects: Sound effects can enhance the impact of certain moments in your video. Whether it’s a button click, a laugh track, or ambient sound, sound effects help immerse your audience in the video.
Real-World Example: Zach King, known for his “magic vines” on YouTube, uses well-timed sound effects and music to enhance the visual effects in his videos. His careful use of sound creates a more immersive experience for his audience.
8. Exporting Your Video
After you’ve finished editing, it’s time to export your video. Exporting is the process of converting your project into a format that can be uploaded to YouTube.
Exporting Tips:
- Resolution: Export your video in 1080p (Full HD) for most YouTube videos. If you have a 4K video, export it in 4K for a sharper, higher-quality look.
- File format: The most common file format for YouTube videos is MP4. It provides a good balance between file size and video quality.
- Compression: If your video file is too large, use the compression settings to reduce the size without compromising quality. This is especially important for faster uploading times.
Pro Tip: Always check your video after exporting to ensure the video and audio quality meet your expectations before uploading to YouTube.
Video editing doesn’t have to be complicated or overwhelming. By following these simple editing tips, you can take your YouTube videos to the next level. From cutting unnecessary footage to adding text, transitions, and music, these techniques will help make your content more engaging and professional-looking. With practice and the right tools, your YouTube videos will shine, and you’ll continue to improve your editing skills as you grow your channel.